Welcome to Step 2 of 4 of SharePoint 2013 installation instructions using AutoSPInstaller V3 and AutoSPInstallerGUI.
Click here to go to Part 1 of this series – System Setup.
I have split this post into 4 series:
Software Download – Step 2 of 4
This section talks about the software you should have ready on your system before starting the installation and configuration process of your SharePoint 2013 farm using AutoSPInstaller.
- Login to your SharePoint Server as your domainsp2013setup local administrator account
- Download SharePoint 2013 Server (w/ SP1 preferably) –
http://technet.microsoft.com/en-us/evalcenter/hh973397.aspx - Download latest Cumulative Update –
http://technet.microsoft.com/en-us/sharepoint/jj891062.aspx - Download lastest AutoSPInstaller –
http://autospinstaller.codeplex.com - Download latest AutoSPInstallerGUI –
http://autospinstallergui.codeplex.com -
Download latest AutoSPSourceBuilder –
https://autospsourcebuilder.codeplex.com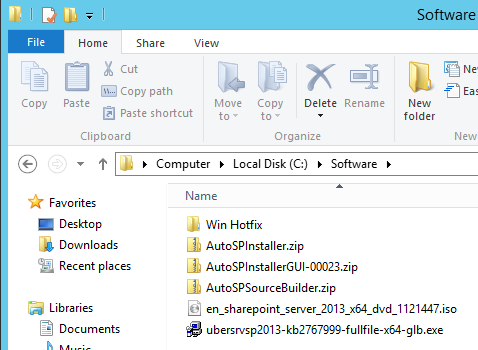
-
Extract contents of AutoSPInstaller to C: drive (i.e. C:SP)

-
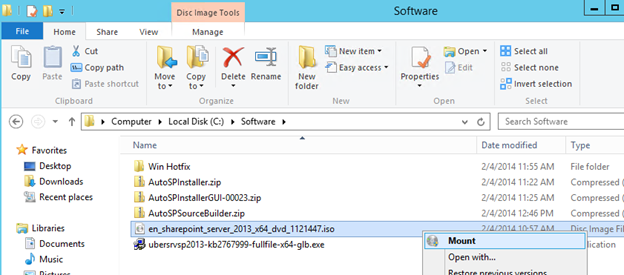
Mount your SharePoint 2013 Media File to a drive
-
Optional (steps 9-12) – Slipstream install any cumulative updates and download prerequisites for an offline install by extracting AutoSPSourceBuilder to C:SP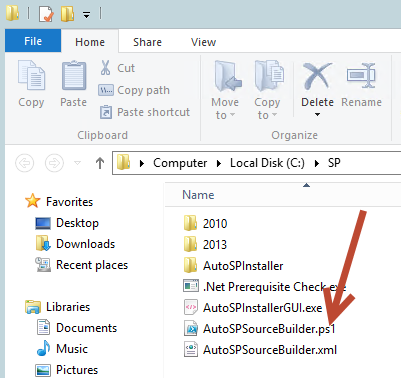
-
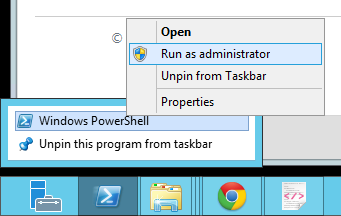
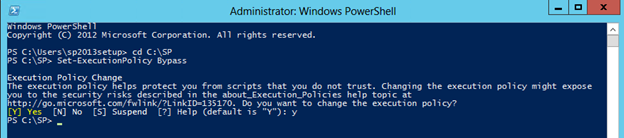
Open Windows PowerShell as administrator
-
Change directory to C:SP (“CD c:sp“) and run “Set-ExecutionPolicy ByPass”
-
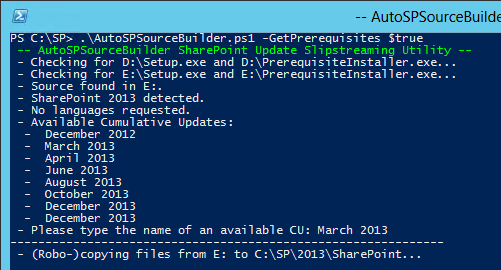
Choose cumulative update (when prompted) and set parameters for an offline prerequisite install by running “.AutoSPSourceBuilder.ps1 -GetPrerequisites $true”
-
Extract AutoSPInstallerGUI to C:SP

-
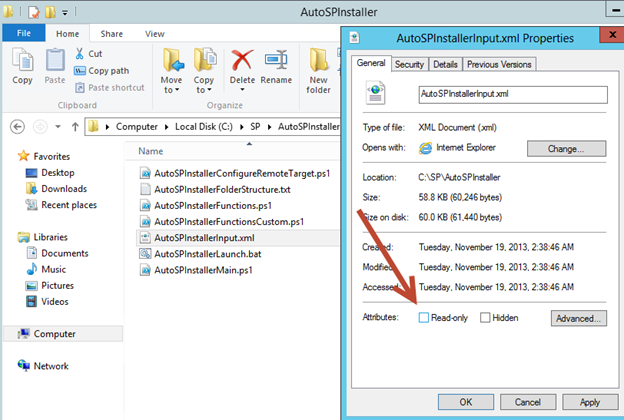
Ensure that C:SPAutoSPInstallerAutoSPInstallerInput.xml file is not marked as read only
Click here to go to Part 3 of this series – Farm Configuration.