Introduction
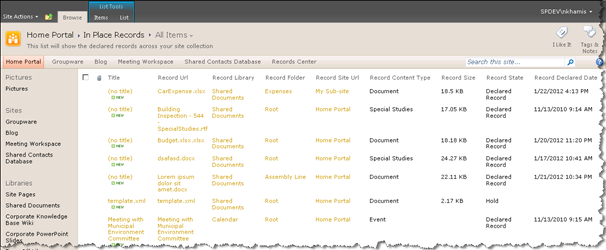
Through my dealings with Records Management features in SharePoint 2010, I noticed there wasn’t an easy out-of-the-box way to filter to see all the declared In-Place Records and Holds across your site collection. Hence, I decided to create a tool to help Site Collection Administrators to report and be able to see them in a simple custom list.
Tool Description
The SharePoint 2010 In Place Records Viewer tool makes it easy for users to view all In-Place Records and Holds declared across your site collection.
In Place Records Management is a new feature in SharePoint 2010 where by instead of moving a document to a specific SharePoint 2010 Records Center in order to declare it a record, a document can be declared and handled as a record within site it was created in. After having declared the document as a record, the document can now have policies and restrictions different from when it was just a document in the site. Read more about it on my blog.
The tool that I have written basically gathers an inventory of all In Place Declared Records and Holds in your SharePoint site collection.
It’s activated by a hidden site collection feature and uses a timer job to gather all the declared records within your site collection within a root list. Note that this is not limited to documents but also works with list items as well.
As an added bonus, I also store any Holds across your Site Collection here as well. Read more about holds on my blog.
Summary
The latest release and solution installer files can be downloaded in the downloads section here:
http://sp2010inplacerecords.codeplex.com/releases
The source code and deployment files have been uploaded to the CodePlex source code and downloads section.
Please log any issues on CodePlex and please provide feedback there as well. I welcome any feedback for improvements. Also, if you would like to contribute to this CodePlex project, let me know.
Please note that you should use this at your own risk, as it does use a site level SPSiteDataQuery across all the site collections that have the feature enabled and as always note my “works on my machine” disclaimer.
Note that the feature is installed as a hidden, site collection level, global feature, so you won’t be able to browse to the site actions –> site settings –> site collection features and activate/deactivate it there, instead you will have to run the Solution Installer tool that I have included in the release or activate/deactivate it using PowerShell on the site collection:
Enable-SPFeature SP2010InPlaceRecordsViewer_InPlaceRecordsViewer -Url http://server:port
It was purposely created as hidden to avoid any RemoteAdministratorAccessDenied errors which is a new security feature in SharePoint 2010 (http://support.microsoft.com/kb/2564009).
You can also choose to run the Solution Installer tool that I have included in the release package.
The installation and configuration instructions can be found on my blog at: https://www.khamis.net//Lists/Posts/Post.aspx?ID=65
Technical Notes (important – please read):
Upon installation of the solution package to a site collection and feature activation, the solution performs the following:
- Creates a new list definition for the In Place Records Viewer list with the fields I wanted to store (Record File Name, Title, Declared Date, Size, etc.…)
- Creates a hidden instance of the above list definition at the root of the site collection (i.e. http://myserver/Lists/InPlaceRecords), Note: if the list exists already, it will be deleted and re-created
- This root level “In Place Records” SharePoint custom list where I store the inventory of all the declared records and holds across the site collection
- Creates a Site Settings Custom Action Group (In Place Records) and a Custom Action (In Place Declared Records Viewer) that links to the hidden list (i.e. http://myserver/Lists/InPlaceRecords)
- Creates a Timer Job that executes daily between 1AM & 3AM (Upon initial Feature Activation, it will also create a Run Once job that runs 3 minutes from the time the feature is activated)
- The Timer Job will first check to see if the feature is activated on the site collection and if it is activated, it will delete and create the InPlaceRecords list
- The Timer Job will then run a SPSiteDataQuery for every type of list you have on your site collection and check to see if there are any declared records and holds in your site collection
- The declared records and holds are then stored with specific meta-data on the InPlaceRecords list
- The InPlaceRecords list and site settings links should only be accessible and visible to site collection administrators (this is purposely done)
Installation Instructions
Installation Instructions
1. Download the latest SP2010CAResourceLinkGenerator solution installer zip file from http://sp2010inplacerecords.codeplex.com. Note that I have chosen to use a version of the SharePoint Solution Installer (http://sharepointinstaller.codeplex.com) to make it easier for SharePoint Administrators to deploy
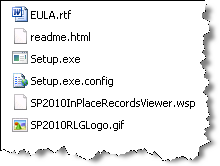
2. Extract the files to your main SharePoint 2010 web application server
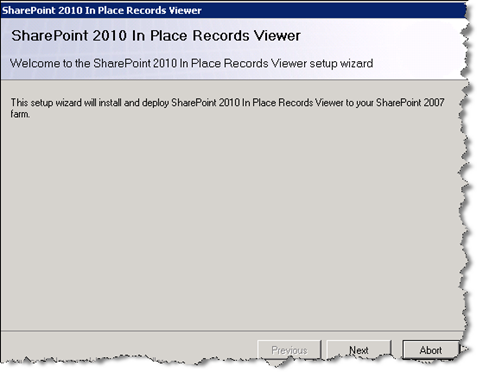
3. Run Setup.exe
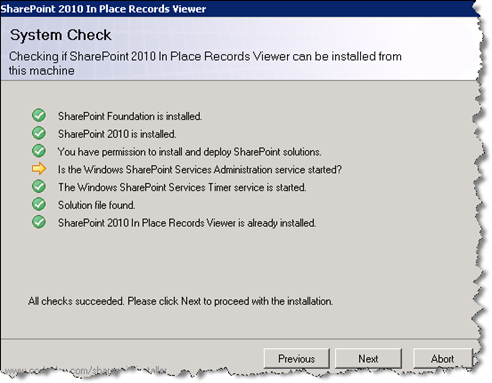
4. Ignore the one yellow error in the below screen (I have found an unsupported converted version of the Solution Installer to work with SP 2010 and it has some bugs)
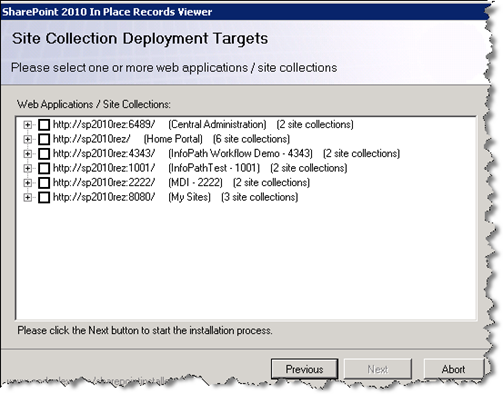
5. Choose the Site Collection (expand the drop down) you would like to deploy to.
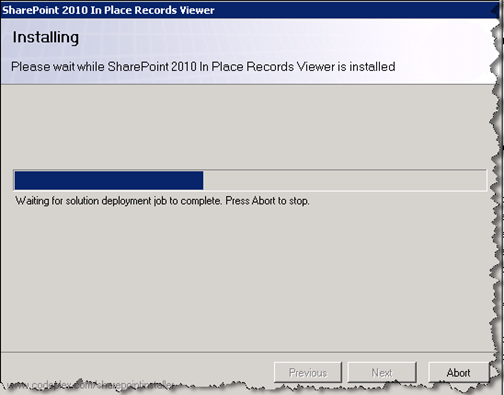
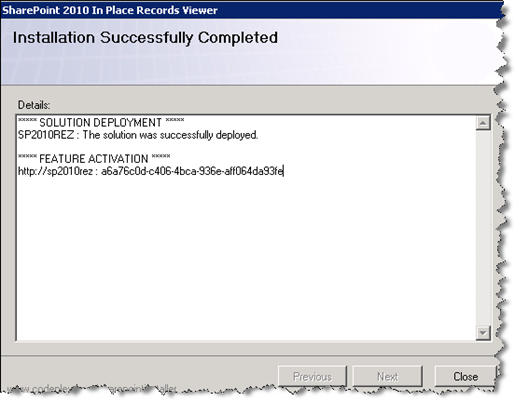
6. Wait for the job to complete as it will:
a) Add the solution file to your SharePoint web application as a site collection feature,
b) Automatically activate the site collection level feature on your chosen site collection
c) Provision the InPlaceRecords list at the root of your site collection (i.e. /lists/InPlaceRecords)
d) Create a timer job that runs once 3 minutes after feature activation and one that runs daily in between 1am and 3am
e) Each night, this timer job will recreate the InPlaceRecords list and populate it with all the Declared Records and Holds across your site collection
7. To uninstall the feature and solution, just run setup again and go through the wizard.

