For anyone following Microsoft’s new and shiny SharePoint framework, it has lot of potentials and can solve most challenges, if not all, around SharePoint Online customizations.
When you build the SPFx web part you get your resource files i.e. CSS, JSON etc. You can deploy them to your SP document library but better option will be to deploy them to Azure CDN.
In this article, I am going to walk you through how to setup Azure CDN.
To setup Azure CDN first you will need to create the storage account. Depending on the Azure portal your steps will be different for creating storage account. I am going to walk you through on how to create using the new portal. You should not be using classic portal unless you have workloads that you cannot manage in the new portal.
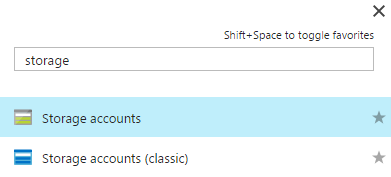
From azure portal quick launch (left navigation) –> Click More services –> Search for Storage. This will give you two options. Select the Azure Storage Account (not classic).
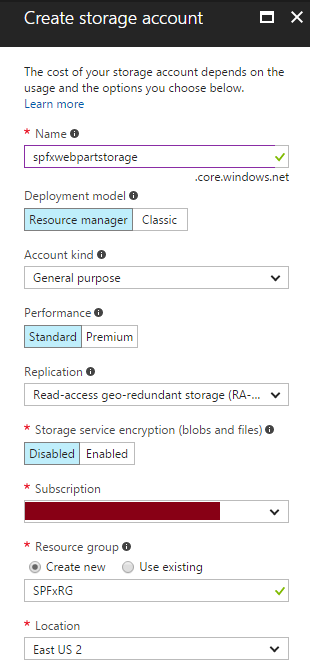
On the storage accounts page, click Add and enter all the details for your storage account.
Check the following screen shot for all the settings.
Once the storage account is created, you will be redirected the storage account management page. On that page click on the storage account that you just created. This will take you to your storage account dashboard.
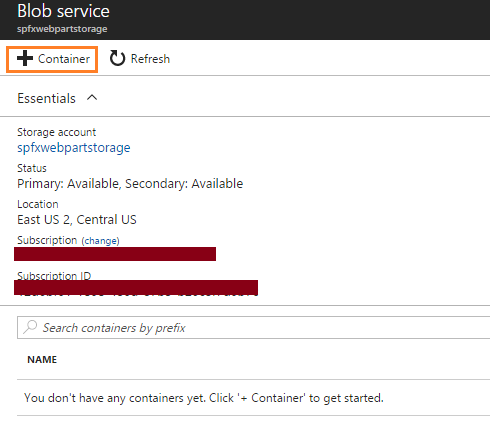
Click on the Blob under services and on the Blob page click plus sign on the Container.
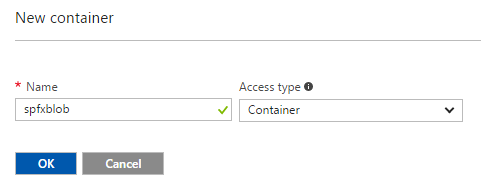
Create new container.
Now go back to your storage account and click access keys. Copy your access keys.
Now from your storage account click Azure CDN and enable CDN for your storage account.
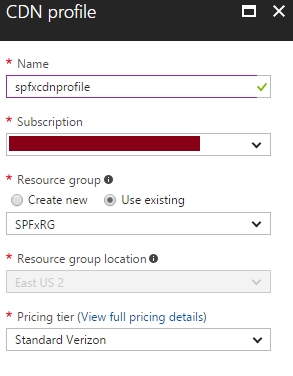
Next you will be creating your CDN profile. For that go to Azure portal and click New –> web+mobile –> CDN and create new profile.
From storage account click Azure CDN and click the CDN endpoint from the list to open CDN configuration.
That’s it. Now you can use these end points in your SPFx web part as CDN.